Buying motorcycle riding gear is easy. Deciding what to buy first, what to buy well, and what you can afford to get wrong for a season — that’s the hard part, and nobody sells you a framework for it. They sell you a jacket.
Motorcycle gear is usually sold and written about one item at a time: buy a jacket, buy a helmet, buy gloves. But you don’t wear one item at a time. You wear all five, together, for hours at a stretch, on a budget that rarely lets you buy them all at once. That’s the actual problem this guide solves: what to prioritise when you can’t buy everything, and how the five pieces need to work as one system rather than five separate purchases. Some categories already have a deeper dedicated guide elsewhere on this blog — you’ll find those linked in the section that covers them. This one ties all five together.
Why Riding Gear Needs a Framework, Not a Shopping List
Packed gear fails quietly. A tent that’s slightly the wrong size is an inconvenience. Riding gear that’s slightly wrong fails loudly, usually at the worst possible moment — a glove seam that lets water through at 5°C, a jacket that rides up under a tank bag strap, a boot that’s already been asked to do more than it can.
Five categories, one body, one budget. That’s the whole problem this guide solves. Not which specific helmet or which specific boot — the dedicated posts cover that — but how to think about the five of them as a set of decisions that depend on each other, rather than five separate purchases made in whatever order the sales aisle puts them in front of you.
The Decision Framework: What to Prioritise First
Here’s the thing nobody says clearly enough: prioritising isn’t a one-time decision, and it isn’t the same as ignoring everything else. Whether you’re building a kit from nothing or working through one you already own, you’re not doing it in a single afternoon — it plays out over months, sometimes longer. Which piece comes next depends on a few things: what matters most for the riding you actually do, what’s already worn out or failed and needs replacing immediately, and how the next piece fits with whatever you already have. If you can only upgrade or replace one or two pieces this season, decide on that basis — not on whatever looks best in the shop window.
Helmet and Boots Come First
Helmet and boots come first, every time I had to choose. The helmet is the easy one to justify: head injuries don’t come with a graduated scale of severity the way a scraped elbow does. The boots are less obvious until you’ve ridden off-road. On the street, a jacket or a decent pair of gloves might do almost as much work as a boot. Off-road, that stops being true. Your ankles take direct hits from rocks, ruts, and the bike itself in ways a road rider never experiences, and there’s no upgrading your way around a boot that isn’t built for it.
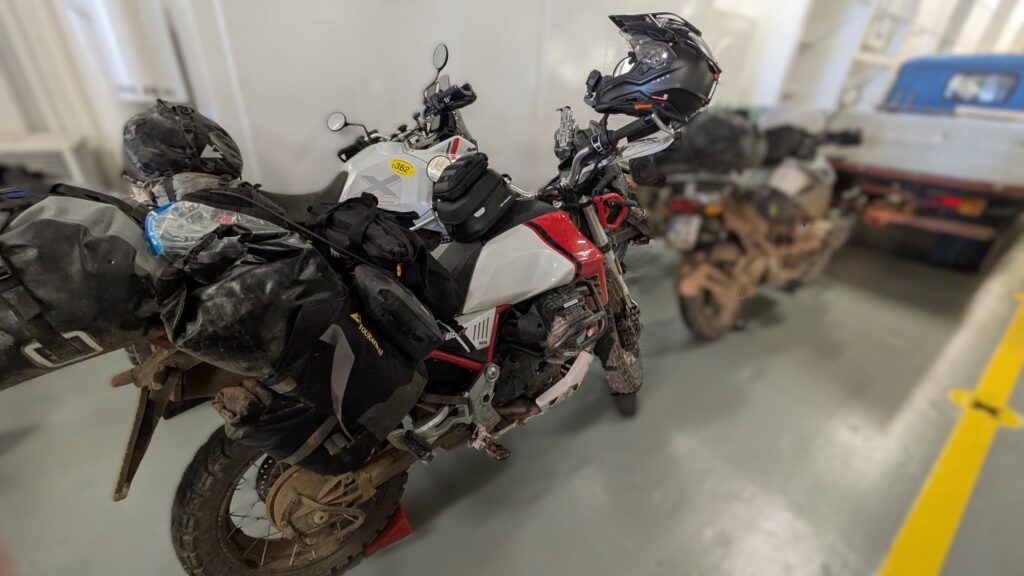
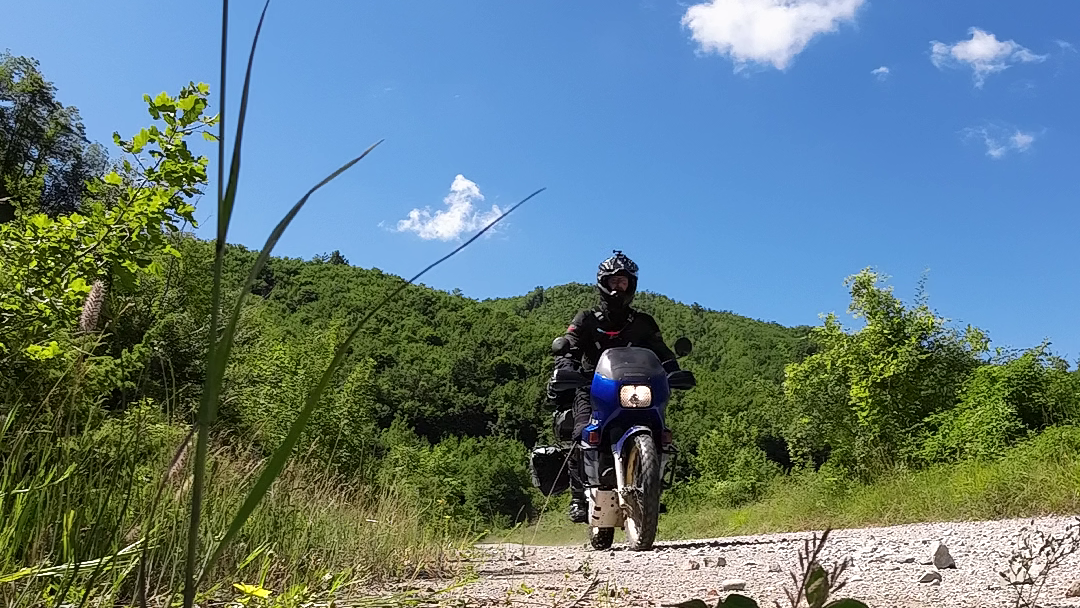
On my first real trip on Vittoria, I didn’t have the budget for a complete new offroad kit — one for proper adventure touring. What I had was a set of street gear that was already a few years worn, and a choice to make. I went dual-purpose: gear built to do both jobs reasonably well rather than one job perfectly. Within that budget, helmet and boots were the two things I upgraded to adventure-touring spec first. Everything else stayed as it was for that trip and got upgraded afterwards, one piece at a time.
Upgrading What You Already Have
This is the part that gets skipped. A jacket and a pair of trousers you already own aren’t dead weight just because they’re not this year’s adventure-touring flagship. Most mid-range jackets and trousers use removable armour pockets, which means you can often upgrade the protection inside them — a better back protector, better shoulder or hip armour — without buying a new shell at all.
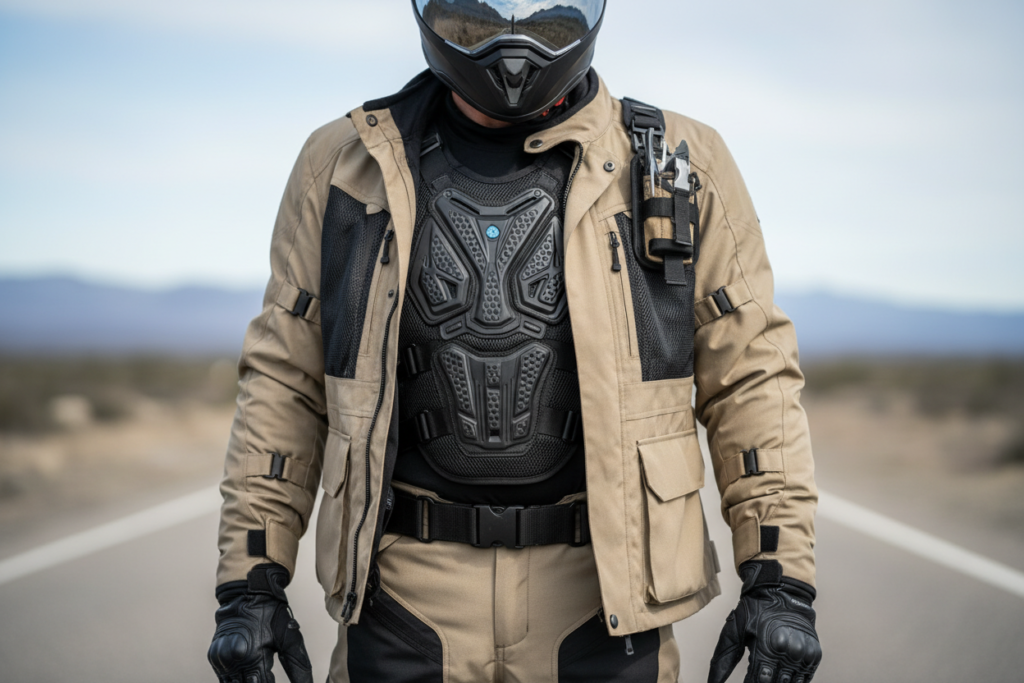
There’s a second option that surprises a lot of riders: an armoured vest, worn underneath the jacket. If your jacket’s built-in protectors are outdated or thin, you can pull them out and let the vest do that job instead, while the jacket goes back to being a shell for wind and weather. It’s a genuinely useful way to raise your protection level without touching your jacket or trouser budget at all — useful if you’re sequencing helmet and boots first but don’t want the rest of your body running on hope in the meantime.
Dual-Purpose or Two Specialised Kits
If you ride both tarmac and dirt, you’ll eventually face the same choice I did. Two full specialised kits give you better performance in each discipline. One well-chosen dual-purpose kit gives you competence in both for roughly the price of one. Unless you’re riding hard off-road technical terrain regularly, dual-purpose gear will cover you for the vast majority of real trips. Save the specialised kit decision for once you know exactly which direction you’re leaning.
Fit and Break-In: Why It Matters More for Motorcycle Riding Gear
A sleeping bag that’s slightly too small is annoying for eight hours a night. A jacket that’s slightly wrong in the shoulders is annoying for eight hours a day, every day, for the length of a trip. That difference alone is why fit deserves more attention here than almost anywhere else in your kit list.
Break-in matters just as much, and it’s the step most riders skip entirely. New boots, new gloves, and new jackets all have pressure points that only show up after hours of actual riding — not standing in a shop, not a short test ride around the block. A boot that fits perfectly for a ten-minute walk can turn into a hot spot on hour six of a mountain pass, and that’s not a defect, it’s just what break-in reveals. Wear new gear on short rides before you commit it to a long trip. Chafing and pressure points show up early if you let them, and every one you catch before departure is one less problem you’ll be riding with later.
The Five Categories, and How They Work as a System
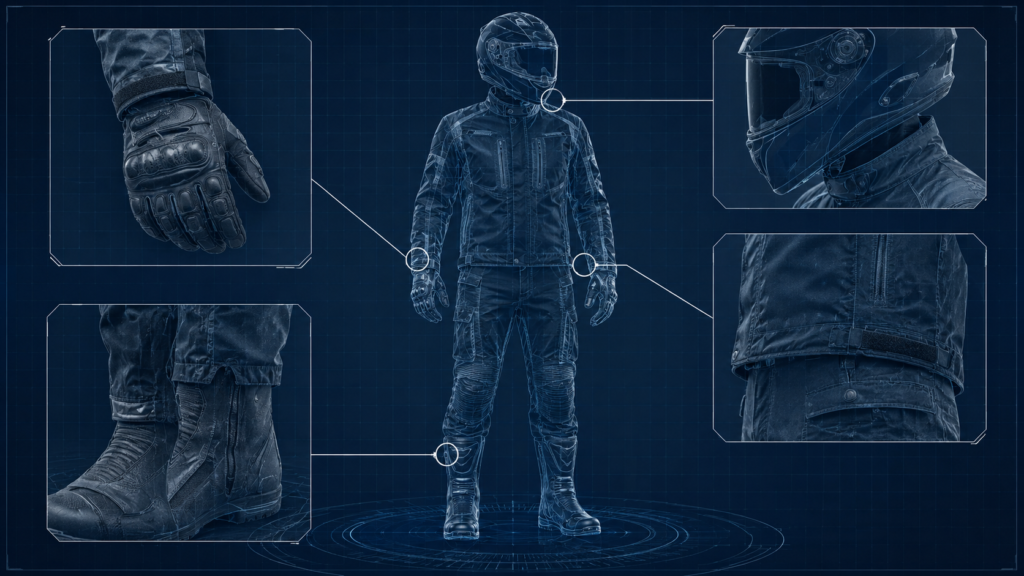
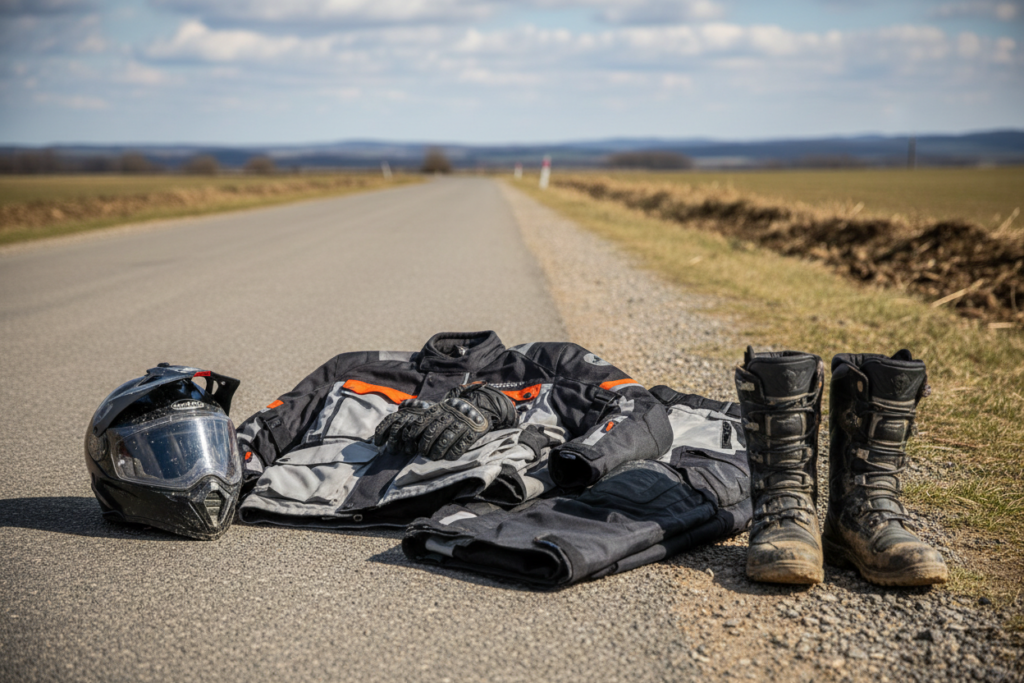
None of these five pieces work in isolation. A great jacket with the wrong gloves still lets weather in at the wrist. Trousers that one go over the boots will guide the rain into your waterproof boots. Here’s what each one needs to do, and where to find the deeper coverage if you want it.
Helmet: The One Item You Never Compromise On
Everything else on this list has a workaround. There’s no such thing as a workaround for a helmet that’s failed. Before anything else — certification standard before shell design. Fit comes next, and it matters more than shape or graphics: a helmet that’s technically the right size but wrong for your head shape will loosen and shift over a long day, and a helmet that moves on your head in a crash hasn’t done its job properly. Weight matters too, more than most riders expect until they’ve worn one for six hours straight — a heavier helmet doesn’t feel heavy in the shop, it feels heavy on the road. It also has to work with what’s underneath it — a helmet with poor neck coverage leaves a gap right where your jacket collar is supposed to pick up, and a helmet that traps heat while your jacket is already running warm just compounds the problem instead of solving it.
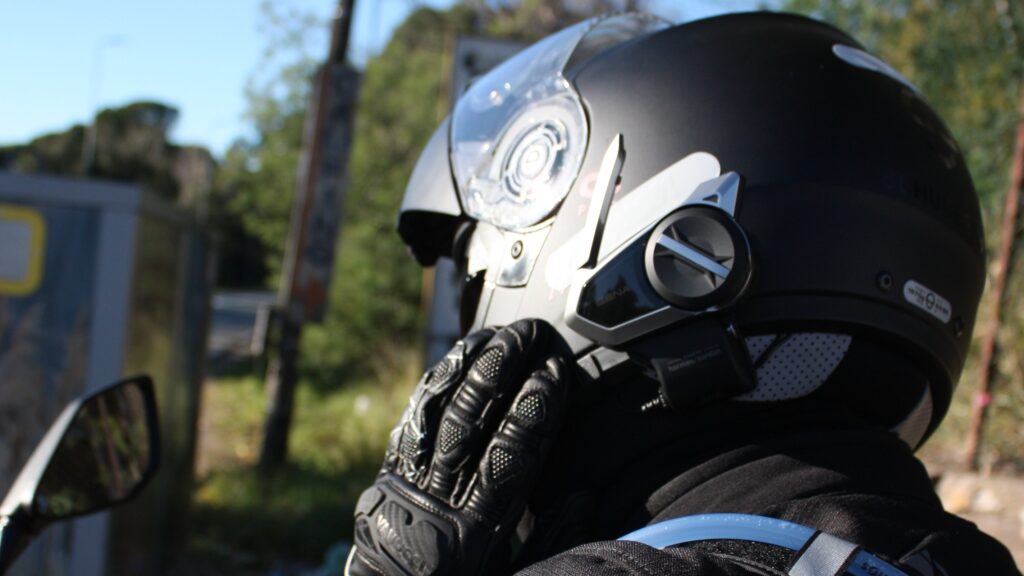
I’ve dropped a helmet off the seat of my own bike twice — both my own fault, both while commuting to work rather than out on some big adventure. Take the helmet off to grab your glasses, set it on the seat without thinking, brush against the bike, and down it goes onto tarmac or a garage floor. Both times, I replaced the helmet immediately. You can’t see the damage that matters from the outside — the foam inside can be compromised without a visible crack anywhere on the shell — and a helmet is the one piece of gear where “it looked fine” isn’t a risk worth taking twice.
Jacket
Your jacket handles wind, weather, and the bulk of your upper-body abrasion protection — but only if it actually meets the pieces around it properly. The cuffs need to overlap your gloves, not just meet them, and the waist needs enough overlap with your trousers that leaning forward on the bike doesn’t open a gap at your lower back. A jacket that’s excellent on its own can still leave a cold strip of skin exposed exactly where two pieces of gear were supposed to join.
Trousers
Trousers are the most underrated piece of the five. Hip and knee armour matter just as much as shoulder armour, particularly off-road where a low-speed tip-over is far more common than a highway get-off, and a low-speed tip-over is exactly when your knees and hips hit the ground first. Look for the same removable-armour logic as jackets: a trouser you already own can often be upgraded from the inside before it needs replacing from the outside. In the system, trousers also do two jobs at their edges — overlapping the jacket at the waist, and overlapping the boots at the ankle. Get either overlap wrong and the trouser itself stops mattering; the gap is what decides whether you stay dry.
Gloves
Three things to check before anything else: knuckle and palm armour, material breathability versus waterproofing, and cuff length against your jacket sleeve. Beyond that, gloves are where I see riders overthink the wrong variable. The instinct is to pack for the worst day you might get. In practice, that usually means you carry gear you almost never use, while the gear you actually need every day gets neglected.
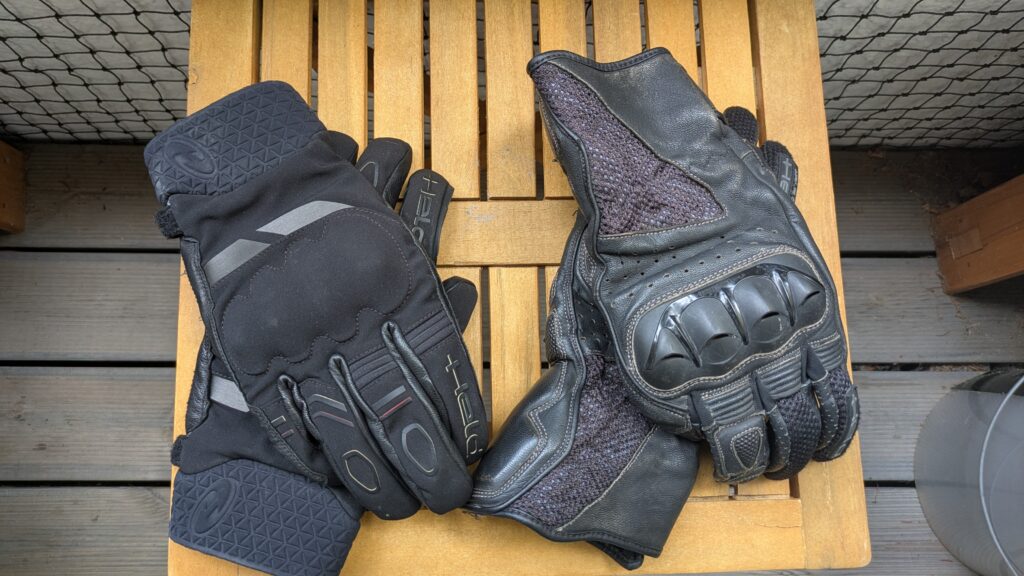
On a Balkans trip, I tried to be clever about it: one pair of waterproof gloves, one pair with better ventilation, ready for whatever the weather threw at me. It never rained. Temperatures sat above 25°C for most of the trip, and the waterproof pair stayed in the pannier the entire time — wearing them in that heat would have been unbearable. What I actually needed was two ventilated pairs, so one could dry out overnight while I rode in the other the next day.
Boots
Boots take more direct abuse than almost anything else you wear, especially off-road — and where they meet your trousers matters almost as much as the boot itself. A trouser leg that doesn’t overlap the top of the boot, or a boot that doesn’t come up far enough to overlap the trouser, leaves a gap that water, mud, and grit all find on a long ride, no matter how good either piece is on its own. Fit, ankle support, and choosing between street, adventure, and full off-road boots all should be considered when choosing your next boot.
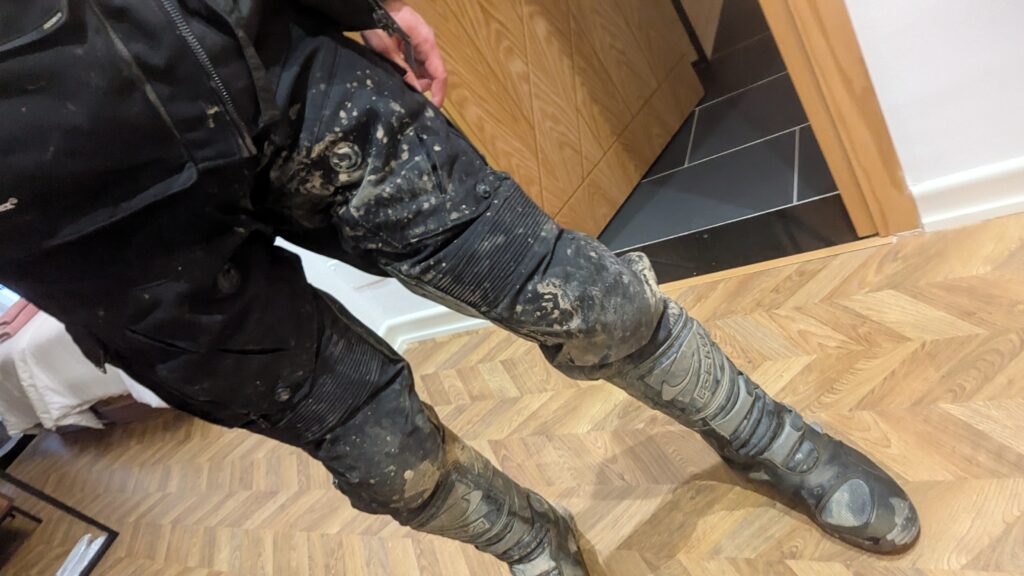
Motorcycle Touring Boots — how to choose the right pair for street and off-road
Where the System Breaks: Fit Between Layers
Every piece of gear on this list gets tested individually by manufacturers. Almost none of them get tested together, on your body, in real conditions — and that’s where problems show up that no single-category guide will ever catch.
The joins are where a system fails, not usually the pieces themselves. Check every place two pieces of gear are supposed to meet: glove cuff against jacket sleeve, jacket hem against trouser waistband, trouser leg against boot top, helmet base against jacket collar. Get any one of those joins wrong and two perfectly good pieces of gear add up to a system with a hole in it.
Wrist coverage between gloves and jacket cuffs is the one I learned about the hard way. Short gloves — the kind I prefer off-road for the extra mobility around the wrist — leave a gap that long, over-the-cuff gloves don’t. On the road, that gap doesn’t matter much in dry weather. In the rain, it’s the difference between a controlled, sealed system and water running straight down your forearm into the glove.
Riding through Kosovo, it rained for two days straight, and my long gloves ended up soaked through by the end of the second day. I switched to my short pair to let the long ones dry. On the third day I crossed the mountain border into Montenegro, June, and the temperature had dropped to a genuinely freezing 5°C. The long gloves were still wet from the two days before, so the short pair was all I had. That’s when I properly understood the second argument for long gloves: it’s not just warmth, it’s the seal. Long gloves overlap the jacket cuff and keep wind and rain out at the wrist. Short gloves, however good the glove itself is, leave that wrist exposed almost every time. If you ride both styles depending on terrain, plan for that gap — don’t just plan for whether your hands themselves are warm and dry.
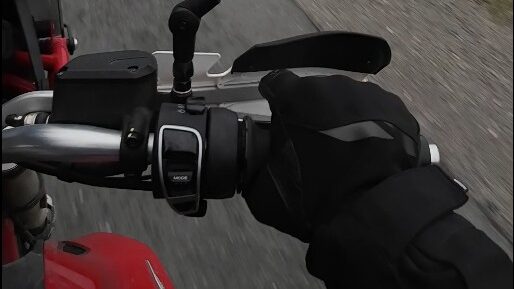
The wrist is just the join I found out about the hard way. Check the others — collar, waistband, boot top — before you need them to work, not after.
Wear Signals: When to Replace Riding Gear
Riding gear degrades in ways that don’t always announce themselves. Stitching loosens gradually. Zip seals wear down over hundreds of open-and-close cycles until they stop keeping water out. Armour foam compresses with repeated impact, quietly losing the protective capacity it had on day one, long before it looks any different from the outside.
The clearest signal is a direct impact you can point to — a hit the gear was actually asked to absorb.
On the ACT/TET route through Albania, I smashed my boot against a rock on one descent, and had the bike come down on the same foot twice more that week on a series of steep, loose descents. The boot held — it did everything I needed it to do for the rest of that trip. But I could feel the protection had changed. It didn’t fail outright, but it wasn’t giving me what it had at the start of the week, and that’s exactly the signal to act on. It got flagged for replacement the moment I got home, impact damage or not, because gear that’s absorbed a hit like that has already spent some of the protection it was built to offer — even if it still looks wearable from the outside.
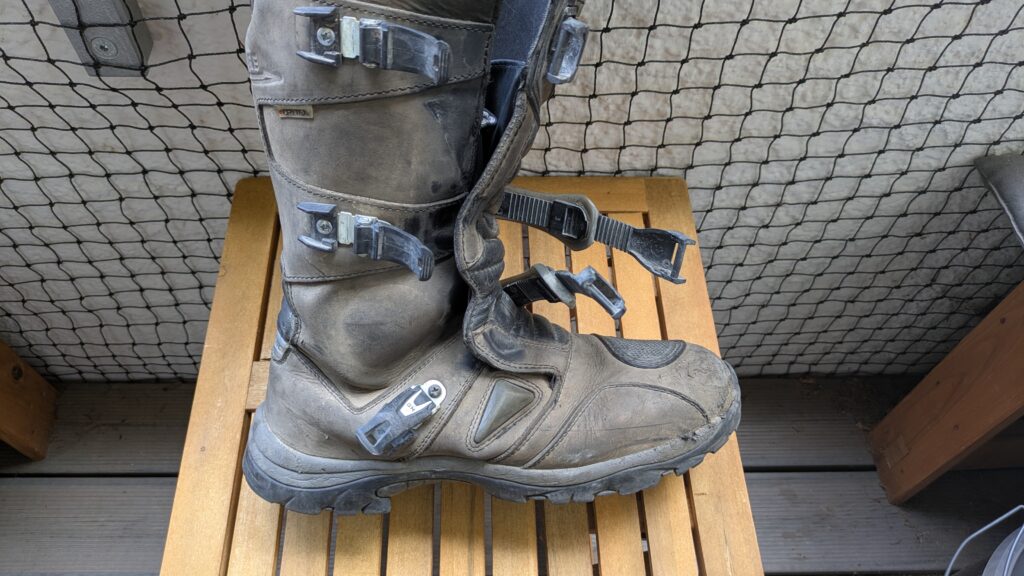
As a rough rule: any gear that’s taken a direct impact gets inspected properly, not just glanced at. Any gear more than a few seasons old gets checked for stitching, seal integrity, and armour that feels harder or more compressed than it used to. When in doubt, the cost of replacing a piece of protective gear is always smaller than the cost of finding out it didn’t work when you needed it.
Rain Gear: The Layer With Its Own Guide
Rain gear isn’t a sixth category — it’s the layer that goes over whichever combination of the five you’re already wearing, not instead of it. Timing matters more than most riders think: gear on before you’re already wet does its job, gear on after is just extra weight. Waterproofing strategy, layering order, and the trade-offs between built-in waterproof membranes and separate over-gear all deserve more depth than a paragraph here.
Motorcycle Rain Gear Guide — waterproofing strategy and how to stay dry on tour
Bringing It Together
Five categories, one framework: sequence by what matters most for the riding you actually do, keep working through the rest of the kit as budget allows, and check every piece against how it behaves next to the others — not just how it performs on its own. That’s the difference between a pile of gear and a kit you can trust on a real trip.
The jacket, boots, and rain gear guides linked throughout this post go deeper into each of those categories on their own. If you’re still working out what else to bring on tour, the packing list covers the rest of it.
Motorcycle Trip Packing List: The Complete Guide — what to bring and how to pack it
By Fritz